NDA (Non Disclosure Agreements) - Board Templates

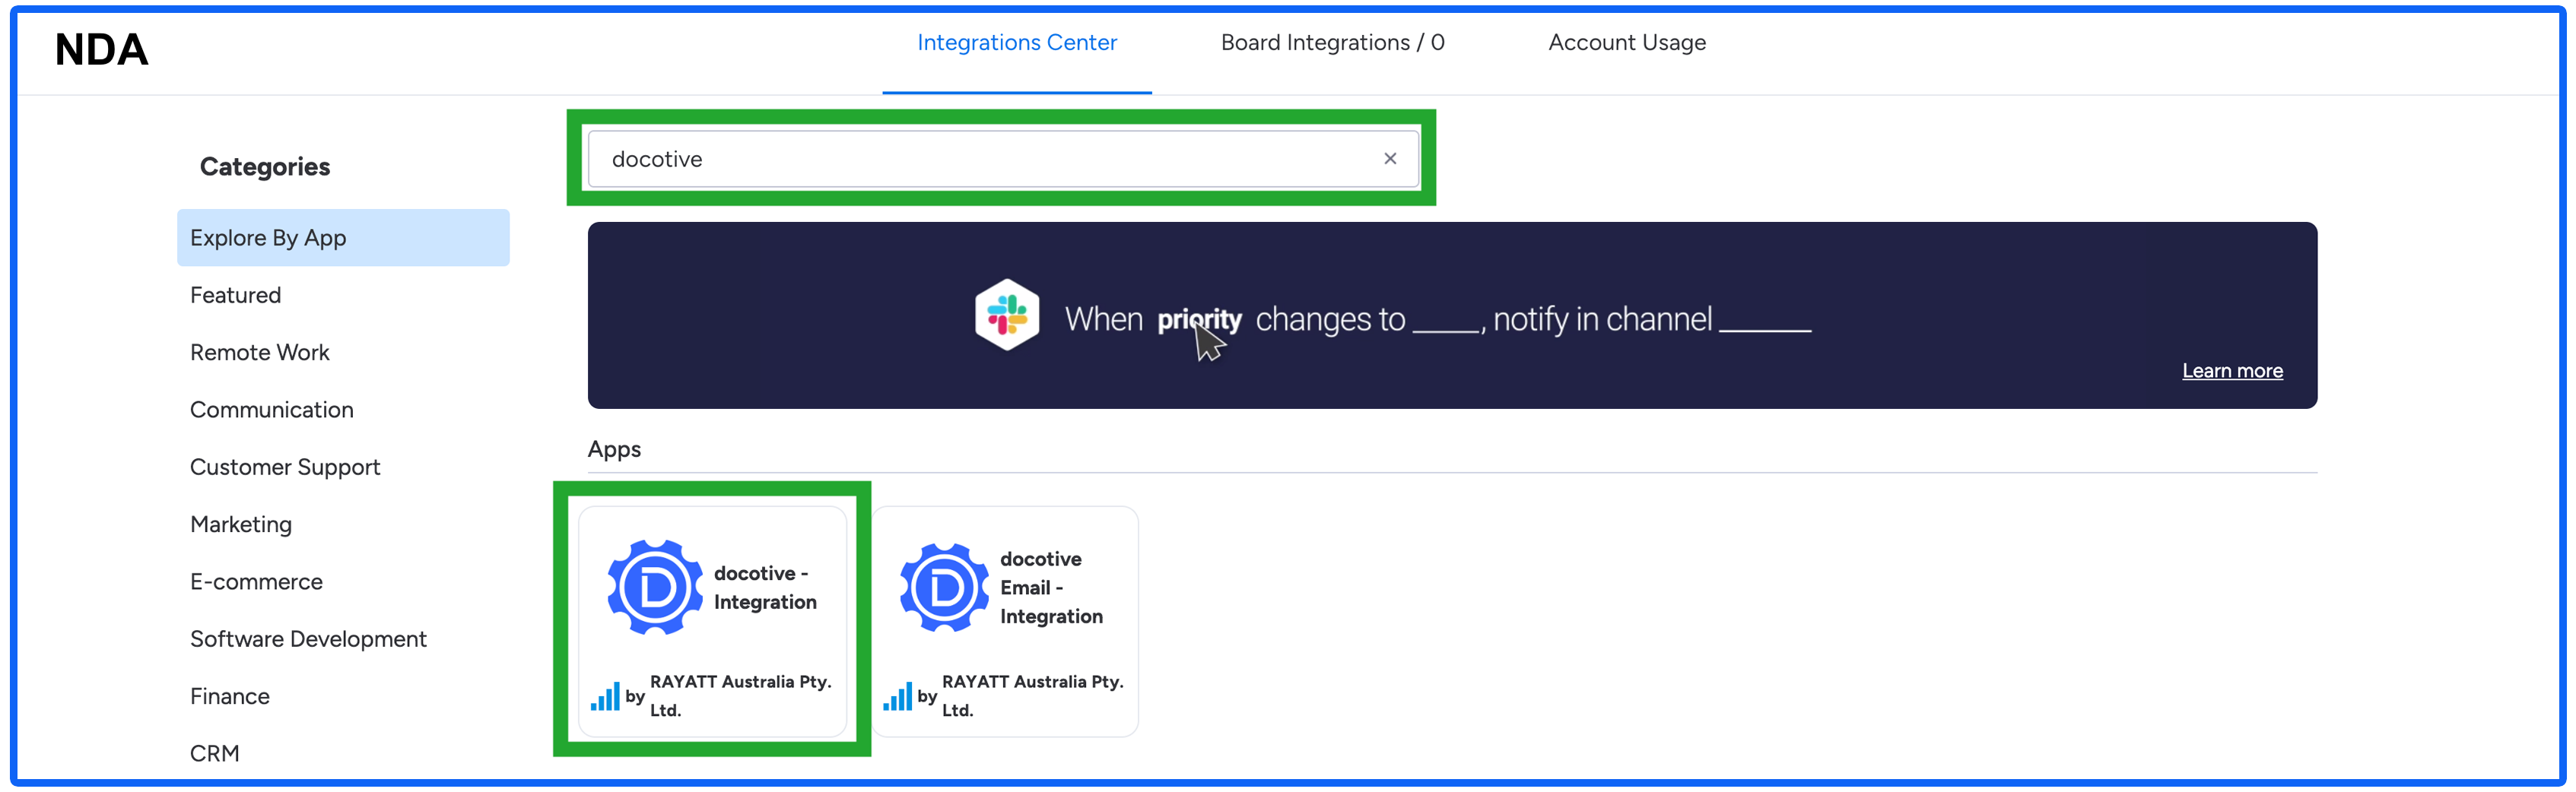
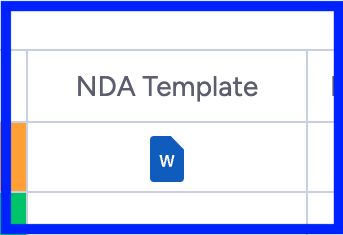
docotive's NDA helps you to quickly generate legal documents.

This templates is fully prepared and ready for immediate use and the best part is, they come at no cost.

Set up docotive's NDA board template

Step 1: Download Board Template

  • a : Login to Monday.com account.
  • b : From any of the workspace in Monday.com click "+" 'Add item to Workspace' (next to the Search textbox in the left menu)and select "Choose from templates" to go to Template center
  • c : In the Template center, type "docotive NDA" in the text box. Select the template from the results and click "Use Template".

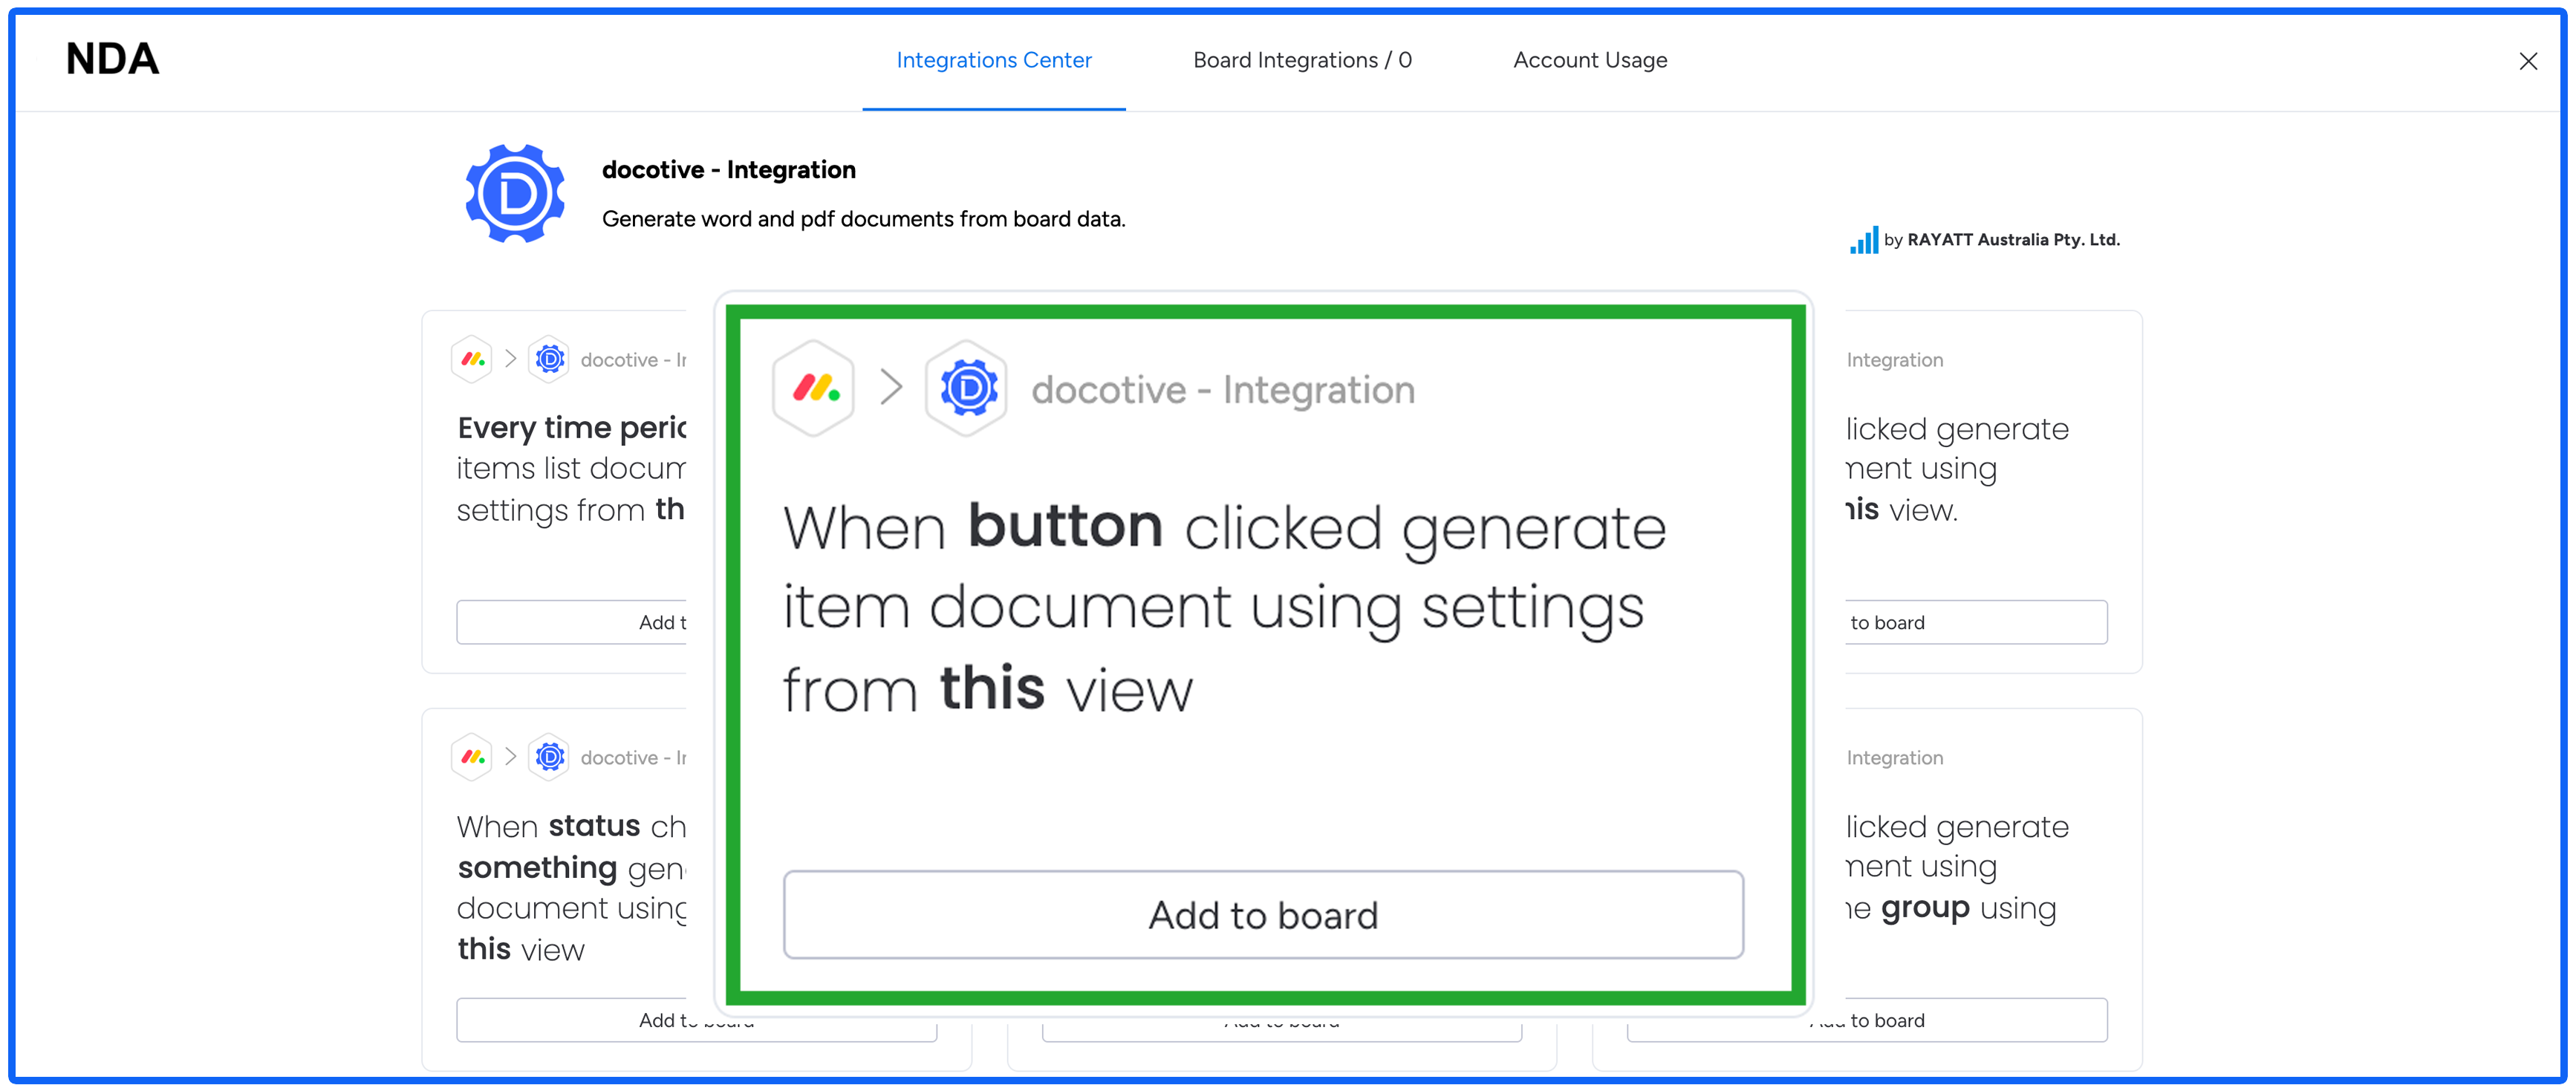
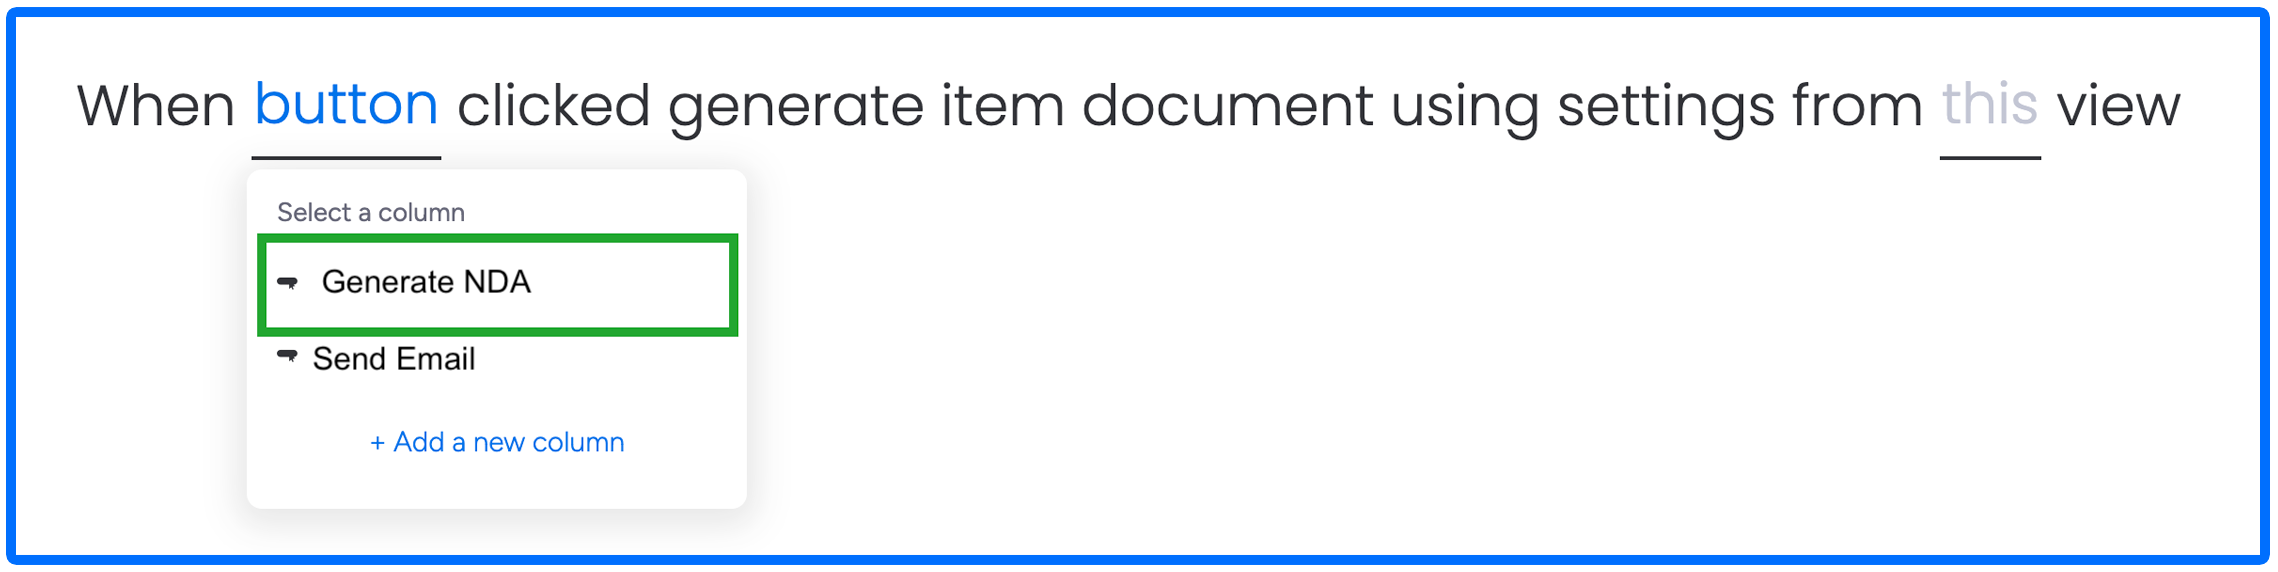
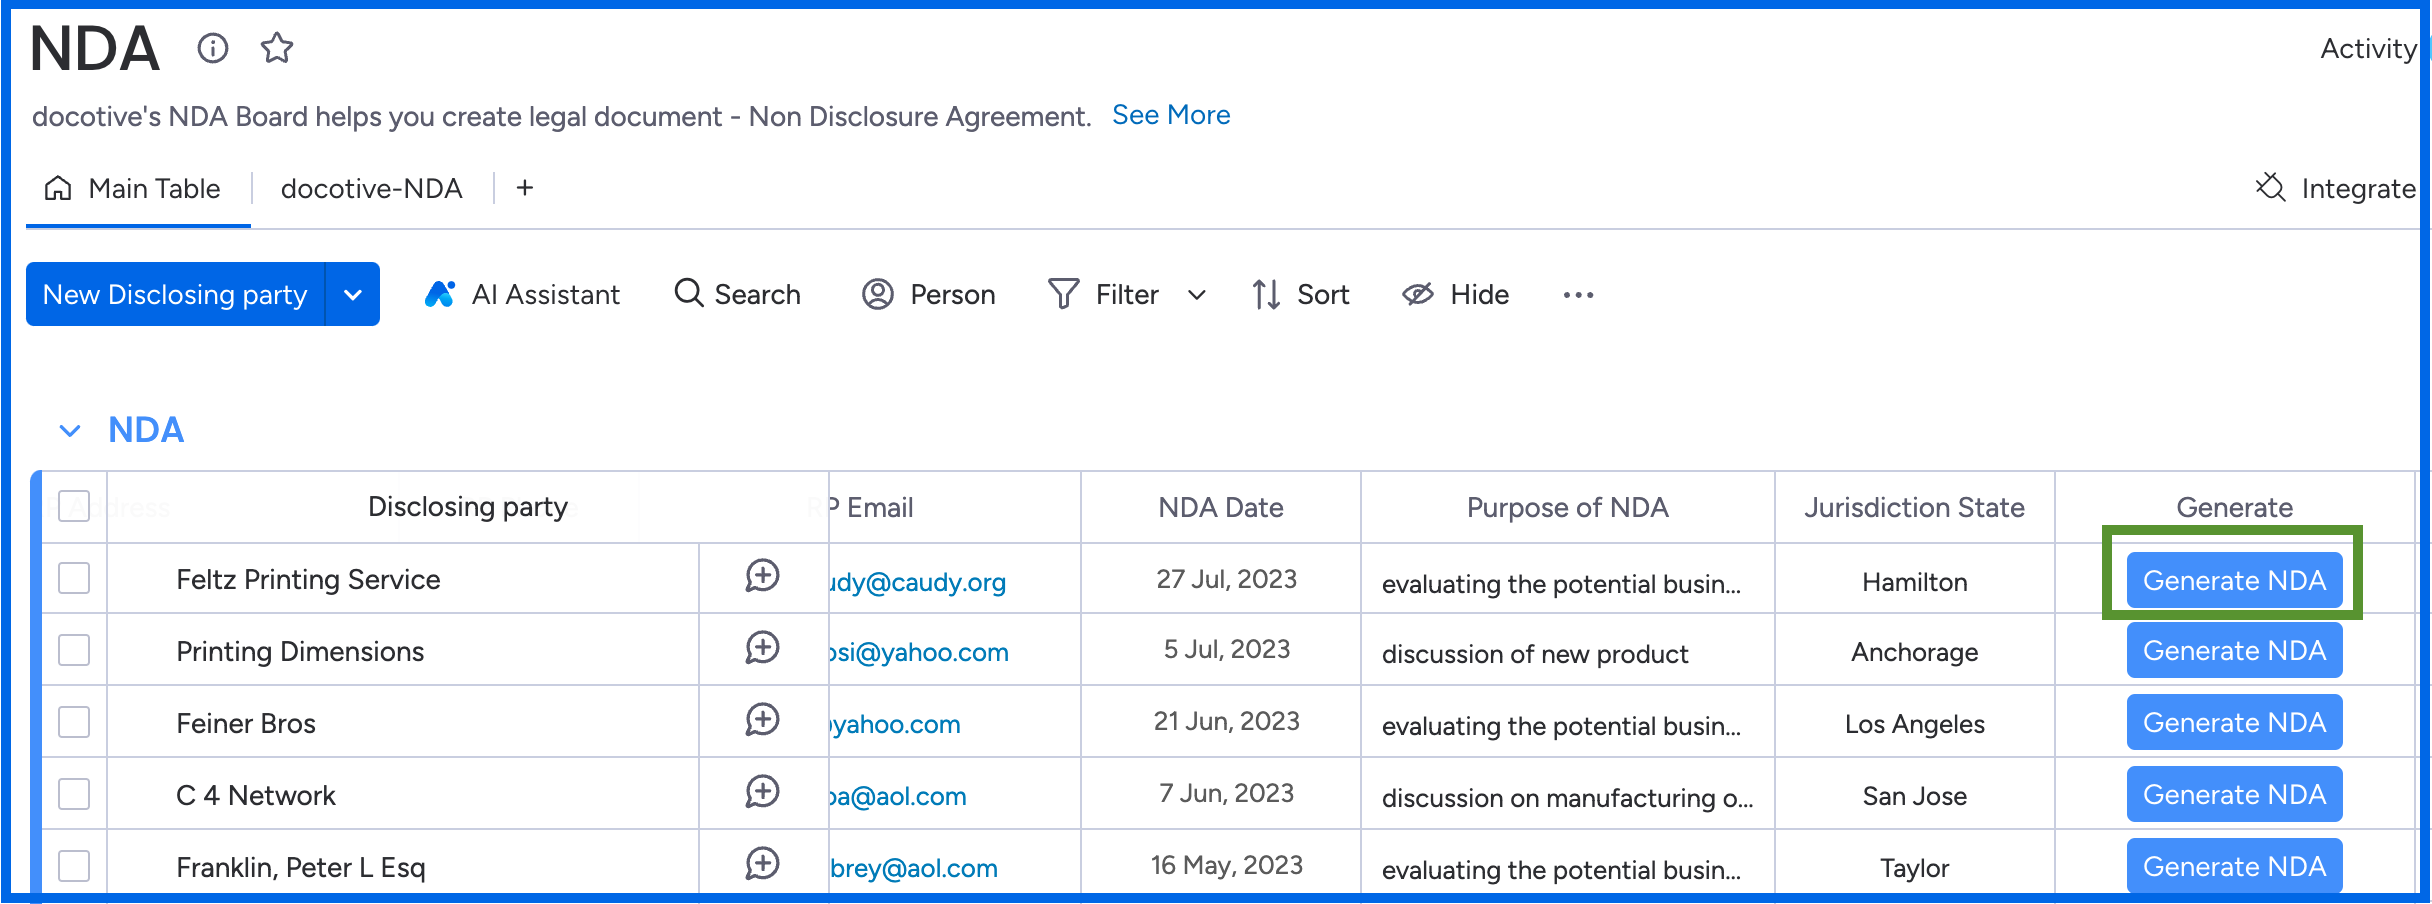
It will automatically set the board and you will have Word template ready to start generating your documents. docotive also provides you Quick start guide to help you generate NDA from the board.

Step 2: Set Up Board

  • a : Make the required changes to columns of the Main Table
Image
  • b : Download docotive's Word Template
  • * We have provided you with the required Word Template within the board. You can download the same from the "NDA Template" column in the "Main Table"
  • ** You can also download a Word template by cliking download NDA Word Template
  • c : Make changes in the Word Template as per your need and save it on your computer.
Image

Step 3: Upload word template

  • a : Once your are happy with all the changes in the word template. Go to docotive view
  • b : Click on the number sequence indicated in the image i.e. Click - Settings -> Document Format -> Upload Template -> Save Settings
It will save the Microsoft Word template in the docotive view. Hoorey! you are all ready to generate documents be it manually or through automation(docotive's integration recipes).

If you are not happy with the Word template than Click "Reset to default" button to delete your uploded Word template and it will automatically reset to docotive's entity Word template.

Image

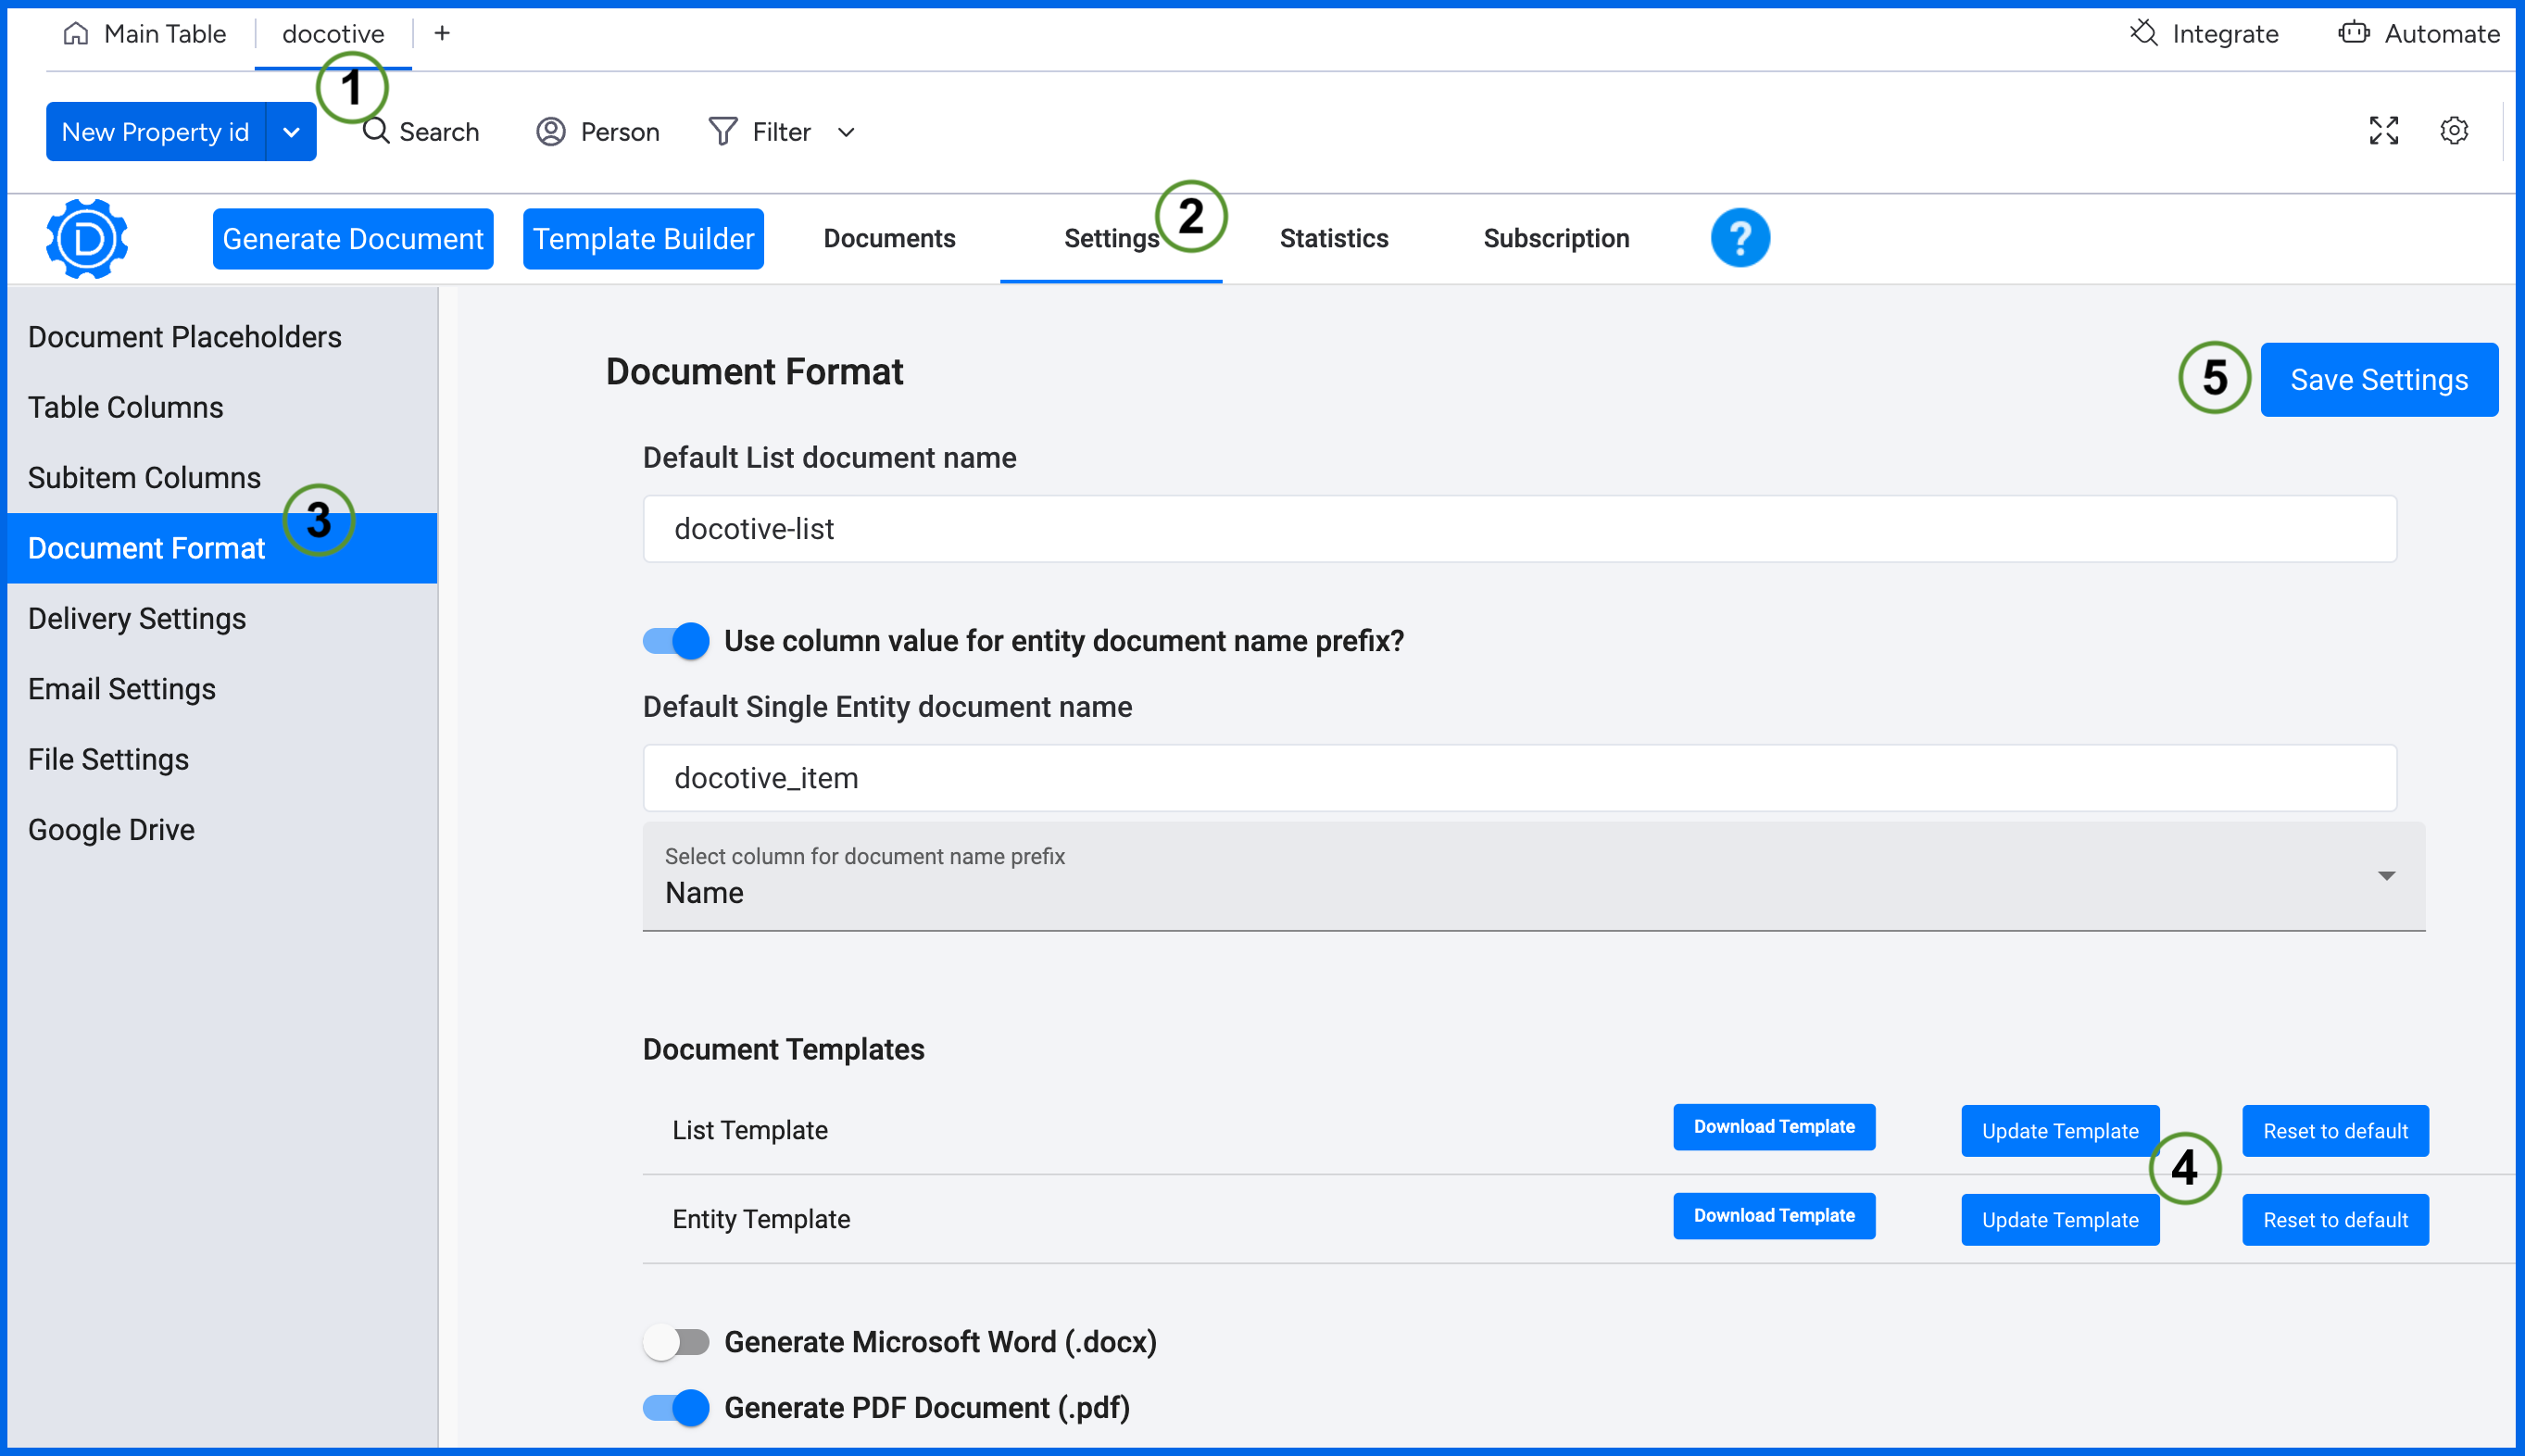
The Document format option is for overall look and feel of structure of your generated documents in the docotive view. You have the flexibility to assign a name to your generated document and opt for either Microsoft Word or .pdf format as the output format for the document.

Click to learn more on Document Format

Step 4: Add Integration recipe

  • a : Click the "Integrate" button at the top right of the "docotive-NDA" board
Image
  • b : Select the "Board Integrations" tab and click on the button "Add new integration"
Image
  • c : Search for "docotive" and select "docotive - Integration" from the results.
Image
  • d : Select "docotive Integration" and you will get a list of available integration recipes. In this case Select "When button clicked generate item document using settings from this view". Click "Add to board"
Image
  • e : Now, you need to select a button(Which will be used to generate documents) with which you will invoke the integration. In our case the button name is "Generate NDA"
Image
  • f : Next you need to select the view "docotive - NDA" from the selection and click on "Add To Board" button on right bottom of the form. This will add the integration to your board and you are all set to start generating NDA documents.
Image

Step 5: Generate documents

  • a : Go to the "Main Table" and click on the button "Generate NDA" to generate NDA document. You will receive the generated document by email. You can also see generated NDAs under Documents Tab of docotive view or click here to learn on sharing generated documents
Image

Congratulations !!! 😊

You have successfully generated your NDA. 😎

You can do much more

arrow-up icon